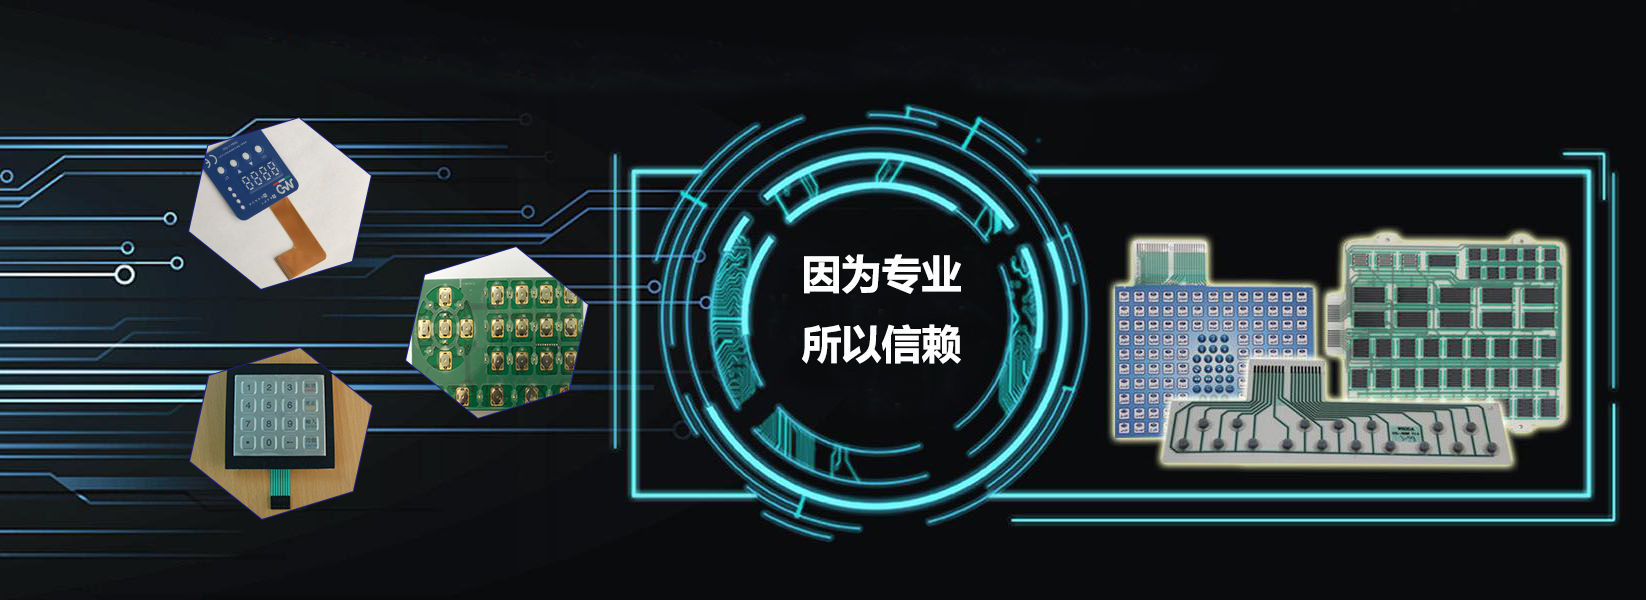
Focus on the design and manufacture
of membrane switch and membrane panelProfessional development and design, trustworthy
Membrane switch is a new high-tech switch, has been widely used in a variety of fields, including basic equipment. The important component of the membrane switch is the membrane panel, in addition to this one, there are many other steps. The steps and process of membrane switch production and assembly include the end line, the end line, the production of sandwich and veneer glue and other aspects, the following for each small detail we do a detailed analysis.
Film switch production assembly steps
1. Put the silk-printed line into the oven for 40 minutes at a temperature of 115 degrees Celsius. (Note that the silk screen printed circuit should be naturally dry.) After the circuit is baked, simply assemble a piece, test whether the circuit has short circuit, open circuit, excessive resistance and other phenomena.
2, stick the tail line: the baked line after detection of single-line resistance, the tail line from the outlet hole to carbon pulp overlap 1 mm with a laminating machine press a layer of insulation tape (not stick to the button as far as possible to the direction of the button more stick).
3, the tail line: stamping out the tail line with a knife die, both sides of the tail line should be uniform (pay special attention to the tail line with a small distance). For sample making, a ruler with glue can be used to aim at the inside of the outlet hole from top to bottom to the tail line. Note that the ruler should be stuck on the opposite side of the line, so as to avoid sticking the silver paste off.
4. Make interlayer (sample) : Find a piece of waste line and lay it flat on the interlayer of appropriate size and stick it. Use an awl to tie down the center point of the line key, and then use a compass to draw a straight circle of 10 on the center point (special circumstances can be changed) and knock it down. After knocking the circle, use a blade to knock a 2 mm wide air groove between the circle and the circle. Note that there should be at least three more circles connected, knocking ventilation groove should be careful not to pass through the upper and lower line intersection. If so, it should be sealed with scotch tape. (The interlayer for the pan slices should be square in size). The mold takes shape once in mass production.
5. Assembly line: first paste the bottom circuit of the finished line on the interlayer, and the silver paste point should be placed in the middle of the interlayer hole, without bubbles. Then attach the wires. Note that the positioning of the upper and lower circuits should be aligned, and the contacts should not be misplaced.
6. Paste adhesive: Paste the adhesive on the lower circuit. When pasting, the tail line should be taken out and the glue position should cover the 4 corner lines. No bubbles in all pasting processes.
7. Veneer glue: Paste the surface glue with a good hole on the line. Note that the glue hole should be aligned with the key position and cover the 4 corner lines. (Surface glue production is the same as sandwich production, if the panel bulge can be enlarged. The glue for pot slices can also be beaten 2 mm long).
8. Punching: Find a waste panel and stick it on the assembled line, align the 4 corner lines, pin the transparent hole 4 weeks to expand by 1 mm on the assembled line, and knock it down with an appropriate blade. Make sure you don't hit the line.
9. Stick panel: Stick the detected panel on the line. Note that the 4 Angle lines are aligned, and bubbles on the glue should be scraped flat, stick to a transparent window to see whether the window is stuck. Pay attention to protect the transparent window after pasting.
10, tail line processing: the tail line cut flat, do not hit the terminal on the back of the carbon paste paste a layer of 0.125 single-sided glue PET to do reinforcement, need to hit the terminal will be the tail line conduction face terminal pressure riveting needle. (Note that a rounded exit with a height of 1-1.5 cm should be cut at the bottom of the double tail line.)
11, forming: stamping (machine) forming is an indispensable process of film switch, size requirements are accurate, mold design is to ensure. According to the size provided by the customer, as well as the thickness, size and shape of the substrate, the size of the variable processing, to produce an accurate structure size. The quality of die is the key to affect the forming quality of thin film switch. When embossing, the mold should reflect all the lines on the original. High quality convex pressing to use hot pressing, the advantage is that the convex pressing is not deformed, there are layers and three-dimensional sense.
12, detection: first of all, visual inspection, to see whether there is a deviation in appearance, poor screen printing. Then according to the principle of the line with the detector each key one by one detection. See whether there is a break, short circuit, resistance is too large and other problems, and pay attention to the sensitivity of the key (with pot to pay attention to whether there is a double pot). Check with the sample if the detection lamp with LED is bright or steady and the brightness is not good. Every product should be sampled for life test (usually 500,000 times will be confirmed as qualified).
13, label the packaging factory. The packing should be neat, beautiful, delicate and generous.


 service